How Minefield Works in Machine Party
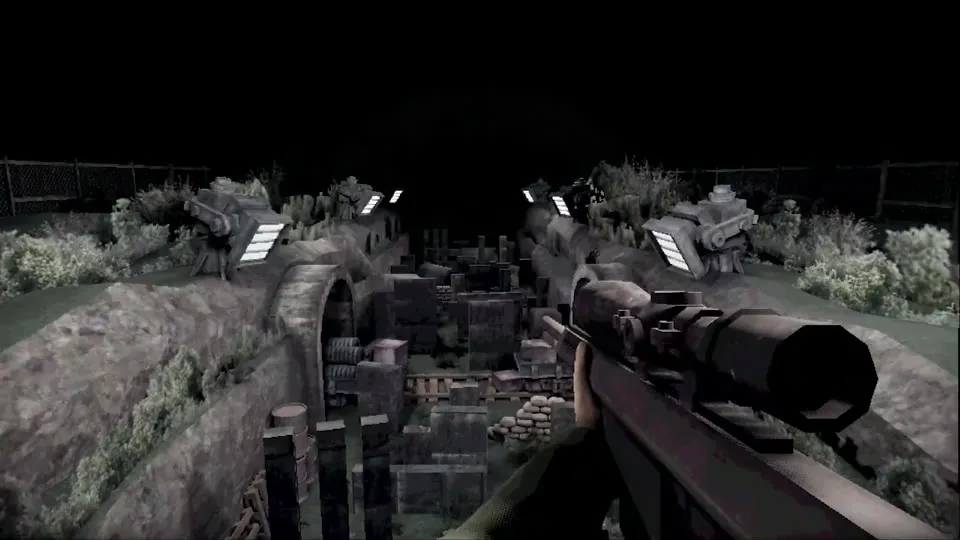
Minefield is an unforgiving psychological and pathfinding minigame in Machine Party. Contestants are dropped onto a dark, grid-patterned industrial proving ground littered with buried high-explosive landmines. The field is completely dark, and buried mines are completely invisible to the naked eye under normal lighting.
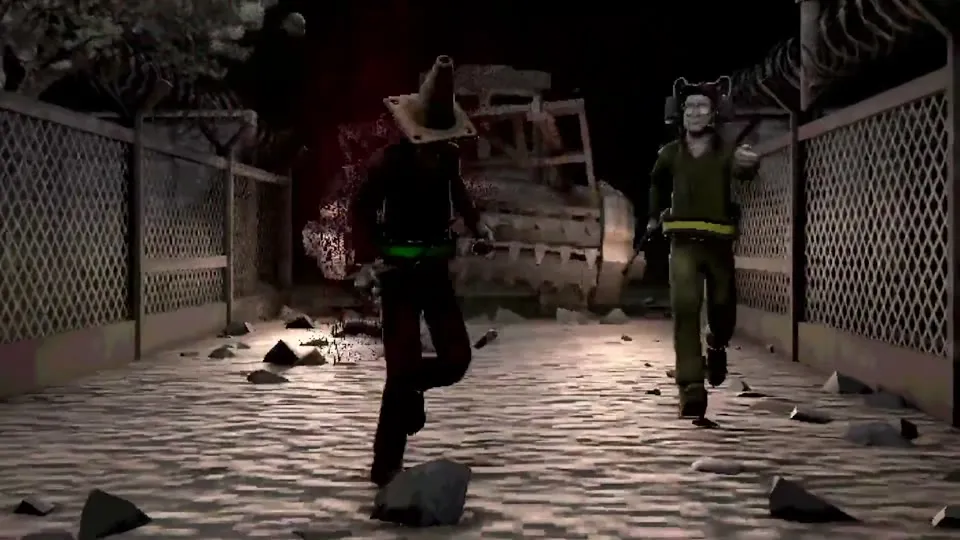
Adding extreme urgency to the crossing, a colossal wall-to-wall mechanical harvester grinder advances relentlessly from the starting baseline. Its spinning steel blades grind the terrain and any lingering players into dust. Players are equipped with a handheld acoustic sonar scanner that reveals buried ordnance when standing stationary. Successfully escaping requires mastering a tense rhythm of stopping to ping, memorizing safe ground corridors, and sprinting forward before the harvester’s grinding teeth reach your heels.
Core Mechanics & Environmental Parameters
| Simulation Element | Rules & Mechanical In-Game Behaviors |
|---|---|
| Acoustic Sonar Scanner | Stopping your character in place triggers the hand scanner, emitting an acoustic ping that illuminates nearby mines in green. |
| The Harvester Grinder | A massive tracked industrial machine that steadily rolls forward, destroying safe terrain and crushing any player caught in its wake. |
| Severe Trauma State | Stepping on a mine blows off your character’s legs. You survive the initial blast but enter a slow crawling state. A second blast is instantly fatal. |
| Dynamic Zoom Camera (v2.0) | In local couch play, the camera dynamically zooms out as players spread apart, maintaining sightlines on both the lead runner and the harvester. |
| The Evacuation Hatch | Safe completion requires stepping onto the illuminated green evacuation hatch at the far end of the proving ground. |
Phase-by-Phase Route Navigation Guide
Phase 1: The Baseline Pulse and Lane Selection
When the round begins, you stand on a narrow safety strip behind the minefield boundary:
- Do not take an immediate blind step. Stand still for one second to let your handheld sonar emit its initial forward ping.
- The scanner projects green circular rings on the ground, revealing buried mine clusters up to four grid tiles ahead.
- Identify the widest clear lane between mine clusters. Never pick a tight single-tile gap if a wider two-tile corridor is visible: players who crowd into narrow gaps often bump each other into adjacent mines.
Phase 2: The Scan-and-Commit Rhythm
Surviving the middle stretch requires balancing scanner data against harvester distance:
- Step 1: Stand stationary and pulse the sonar once to reveal the next cluster.
- Step 2: Visually anchor two distinct landmarks (such as floor rivets or rust patches) defining the safe corridor.
- Step 3: Sprint three to four steps along your committed path without hesitating.
- Step 4: Halt on verified clear terrain and emit another ping before turning laterally.
- Do Not Scan Every Step: Pausing after every single tile is the number one cause of elimination. The harvester behind you maintains a fixed forward velocity. If you pause more than three times in quick succession, the grinder will overtake your position.
Phase 3: Navigating Player Proximity & Accidental Sabotage
When playing with 3 or 4 contestants, physical player collision introduces severe danger:
- The Tailgating Trap: Following directly on another contestant’s heels is perilous. If the lead player panics, turns, or triggers an unexpected mine, the resulting explosion radius will trigger your model as well.
- Body Bumping: Maintain at least one full tile of lateral separation from rivals. Jostling or shoving near revealed mines can easily push a competitor off the safe line.
- Exploiting Rival Scans: Watch other contestants. If a rival player scans and begins sprinting down a specific lane with confidence, you can utilize their mapped path, saving your own scanner downtime to gain ground on the harvester.
Phase 4: The Final Hatch Sprint & The Crawl State
The final five meters of the minefield feature increased mine density:
- If the harvester is bearing down within two meters, abandon all scanning. Pick the cleanest visible vector and sprint directly toward the green hatch.
- Surviving the Crawl State: If you trigger a mine during this final stretch, your legs are severed and your character drops onto their stomach. While your movement speed is reduced by roughly 60%, your hit-box is smaller, and you can still crawl across the finish threshold. Keep holding forward until your torso crosses the hatch boundary.
Critical Errors to Avoid
| Tactical Error | Fatal Consequence | How to Avoid |
|---|---|---|
| Scanner Paralysis | Staring at sonar blips while standing still allows the rear harvester to grind you into pieces. | Limit every scan pause to under 1.5 seconds; scan, memorize two landmarks, and move. |
| Running Directly Behind Rivals | When a front runner detonates an explosive, the radial blast damages or kills trailing players. | Maintain lateral stagger; never follow in a straight single-file line. |
| Diagonal Blind Dashes | Cutting diagonally across grid tiles without scanning frequently cuts through corner hit-boxes of mines. | Move strictly along cardinal axes (North, South, East, West) through mapped corridors. |
| Giving Up After One Blast | Assuming you are dead after losing your legs leads to taking your hands off the controls. | Hold forward immediately; you can easily crawl the remaining distance to victory. |
Step-by-Step Guide to Unlocking “Leg it!” Achievement
The achievement “Leg it!” is an ultra-rare 4.6% unlock requiring you to reach the evacuation hatch without using the sonar scanner a single time:
- Rule Constraint: You must never stand still long enough to activate the sonar scanner. Any stationary pause that triggers an acoustic green ping instantly voids the achievement attempt.
- Strategy 1: The Parasite Method (Multiplayer):
- Queue a match with friends in Online mode or Local Couch Co-op (setup walkthrough in our How to Play with Friends Guide).
- Instruct your friends to act as pathfinders, scanning the terrain and moving ahead of you.
- Tailgate their exact footsteps with a 2-meter buffer, stepping only on terrain they have physically cleared. Because you never stop to scan yourself, you reach the hatch with zero pings.
- Strategy 2: The Calculated Tank (Solo/2-Player):
- The game allows you to survive exactly one mine blast.
- Sprint along an intuitive path. If you strike a mine, your legs are destroyed, but you survive.
- Drag your crawling torso through the remaining short stretch directly onto the hatch. As long as you never triggered the sonar scanner button, the achievement pops upon crossing the exit line.
For additional navigation and spatial puzzle guides, consult our walkthroughs for Wrong Way and Chisel Gauntlet. For detailed keybindings, review our Controls and Gamepad Guide.